I am often asked how long it takes to become good at wildlife photography.
The honest answer depends on one thing more than anything else: How much do you actually photograph — and how consciously do you practice?
Time alone does not make anyone better. Repetition does. And not just repetition, but attentive repetition.
The Beginning: Learning to Control the Camera
Most people start with enthusiasm. They go out hoping to capture beautiful images.
Today, social media often adds another layer of pressure. We constantly see striking wildlife photographs — dramatic light, rare behaviour, perfect backgrounds. What we rarely see are the years behind those images.
It is easy to overlook that the photographs filling our screens are usually the result of long experience, careful practice, and many ordinary days in the field.
Technique is not something you simply have. It is something you build.
In the beginning, many photographers use P mode. But the camera does not know whether you are photographing flowers or a bird about to take off. It only makes its best guess based on the available light. And wildlife — especially birds — rarely gives you time for guessing.
I photograph in manual mode. But controlling three parameters at once can feel overwhelming in the beginning. I did not start there.
I first practiced with aperture priority and shutter priority. I learned how the camera behaves. I paid attention to what changes when I adjust one setting. After observing the camera’s decisions for a while, I gradually moved to manual mode and compared my own to cameras settings in shutter priority. And whenever I felt uncertain, I looked at the settings the camera suggested, then continued testing in manual mode from there.
Learning takes time.
In the early phase — and even later, in suitable conditions — it can help to set ISO manually and allow yourself to focus on understanding aperture and shutter speed. There is no need to master everything at once.
The important part is practice. Not random practice — but deliberate practice.
For me, this was perhaps even more important than for many others. From the very beginning, I was drawn to more artistic images. I was not only interested in documenting what I saw. I wanted the image to feel balanced, intentional, sometimes even minimal.
That kind of approach requires control. And control requires repetition.
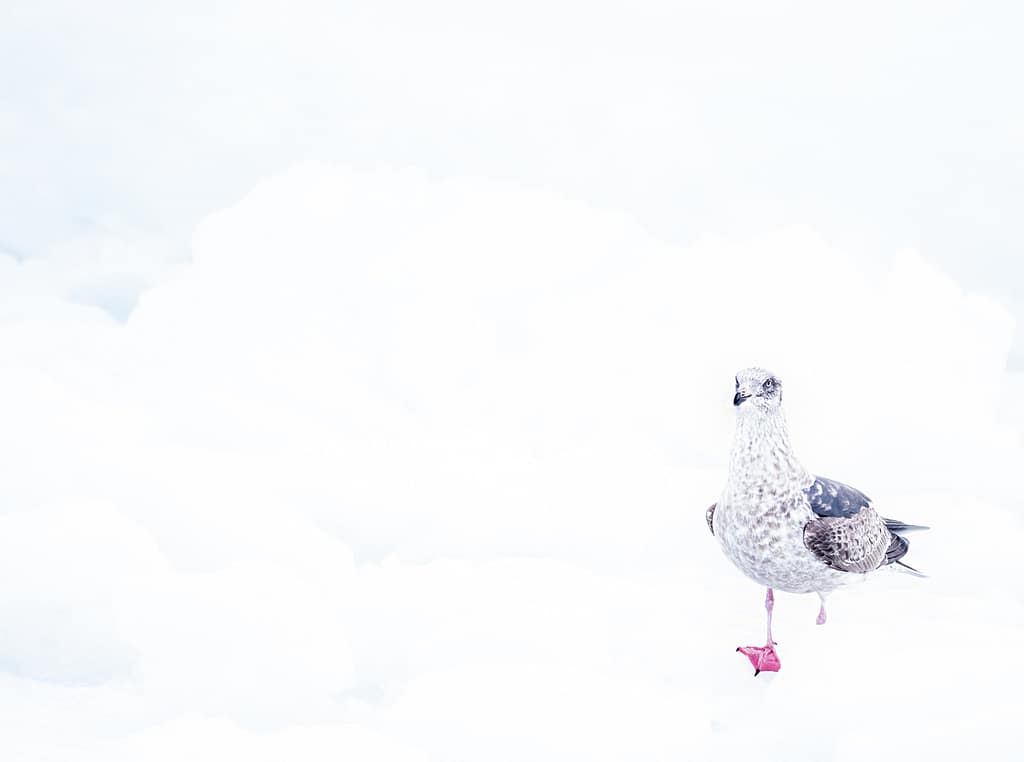
Why I Recommend Photographing Ducks or Gulls
When someone asks me how to improve, I often suggest something very simple:
Go to a familiar place. Photograph ducks or gulls.
It sounds almost too simple. But it works.
In a familiar location, you remove pressure. You are not chasing a rare species or events. You are not worried about missing the only opportunity of the year.
You can experiment. You can use the wrong settings. You can fail.
You can test how your camera reacts when a bird suddenly takes off.
In a known situation, mistakes are not costly. And mistakes are how technique develops.
Many photographers only go out when something “special” is happening. But technical confidence is built in ordinary moments.
When Technique Becomes Automatic
If you photograph regularly, something shifts after a year or two.
You stop thinking about which button to press. Exposure decisions become faster. You begin checking the histogram instead of trusting the screen.
And slowly, your attention moves elsewhere. You start watching behavior.
You begin to anticipate movement instead of reacting to it. You notice posture, tension, feeding patterns. You start to listen.
At the same time, something interesting often happens: you start caring about what you are actually photographing.
A bird is no longer just a bird. A flower is no longer just a flower. You want to know the species name.
This opens a completely new world.
Many beginner wildlife photographers become deeply interested in nature itself. Learning species takes time — years, often. But there is no hurry. The work teaches you.

Backgrounds, Light, and Depth
Only after technical control and basic behavior reading become familiar do many photographers start noticing something else.
The background.
What is behind the subject?
Are there branches crossing the frame?
Is there visual noise that weakens the image?
After that, attention often moves again — this time to light.
Where is it coming from? Is it flat? Does it create depth?
Storytelling usually comes even later. It grows from experience. It cannot be forced early.
The same happens with post-processing. Editing skills develop gradually alongside field skills. You begin to understand what kind of file you want to bring home because you know what you can realistically refine later.
As your understanding of post-processing grows, something else changes. You start to visualize the final image already in the field. You are no longer only reacting to what is in front of you — you are thinking about how you want the photograph to feel when it is finished.
You might adjust your exposure slightly differently. You might simplify the background more carefully. You might wait for a softer moment in the light.
In other words, you begin working toward the final result already at the moment of capture.
So How Long Does It Take?
If someone photographs occasionally, improvement is slow.
If someone photographs regularly — even in simple, familiar places — progress is steady.
Roughly speaking:
- One year: technical control begins to feel stable
- Three to five years: stronger understanding of behavior, background, and light
- Five years or more: consistent, mature work shaped by experience
But this timeline changes completely depending on how much you practice.
Someone who photographs twice a week and experiments consciously will improve much faster than someone who goes on two big trips per year.
At the same time, our backgrounds matter. Someone with an artistic background may develop a sense of composition and visual balance quite quickly. Someone who already knows nature well may understand animal behaviour earlier. And the person who is genuinely interested in technical details often masters camera settings faster than others.
We do not all start from the same place. But over time, steady practice tends to even things out.
Learning Alone — and Together
Today, it is possible to learn a lot alone. The internet offers endless information. Books, videos, articles — all useful.
But I still recommend photographing with others.
Join a local photography club. Go out with more experienced photographers. Listen. Observe how they move.
You can learn a great deal simply by watching how someone else approaches a situation.
Courses and workshops can also shorten the learning curve. Not because they give secrets, but because they show you how someone more experienced thinks in the field.
Improvement is never only about knowledge. It is about seeing how knowledge is applied.
A Better Way to Think About Time
Instead of asking how long it takes to get good, it may be more useful to ask:
How often do you practice in ordinary situations?
Wildlife photography is not built only on rare moments. It is built on patient repetition.
The photographers who improve are not necessarily the most talented. They are the ones who keep returning — even to the same pond with the same ducks — and keep paying attention.
But there is also another question hidden inside this discussion.
How do we define “good”?
Is it many likes and compliments on social media? Or is it the ability to create images that you genuinely enjoy yourself?
For me, the most important part of wildlife photography has always been the experience of nature. The quiet mornings. The understanding that grows slowly. The deeper connection to the places and species I spend time with.
Bringing something meaningful home from those moments — even if it is only one image — is often enough.
If you are satisfied with your photographs, if they reflect what you felt and saw, then you have already become a good photographer in a very real sense.
That does not mean you cannot continue improving. Growth does not stop. But the definition of “good” does not need to depend on external approval.
Good work grows slowly.
And that is part of its value.
I have written more about waiting and observation in Being Ready Doesn’t Mean Always Photographing.

Leave a Reply